Recipe: Whole wheat starter

- Share via
Total time: Several days
Servings: Makes 1 starter
Note: Adapted from a recipe in Peter Reinhart’s “Whole Grain Breads”
Phase 1 (Day 1) sponge
3 1/2 tablespoons (1 ounce) whole wheat flour
1/4 cup (2 ounces) unsweetened pineapple juice
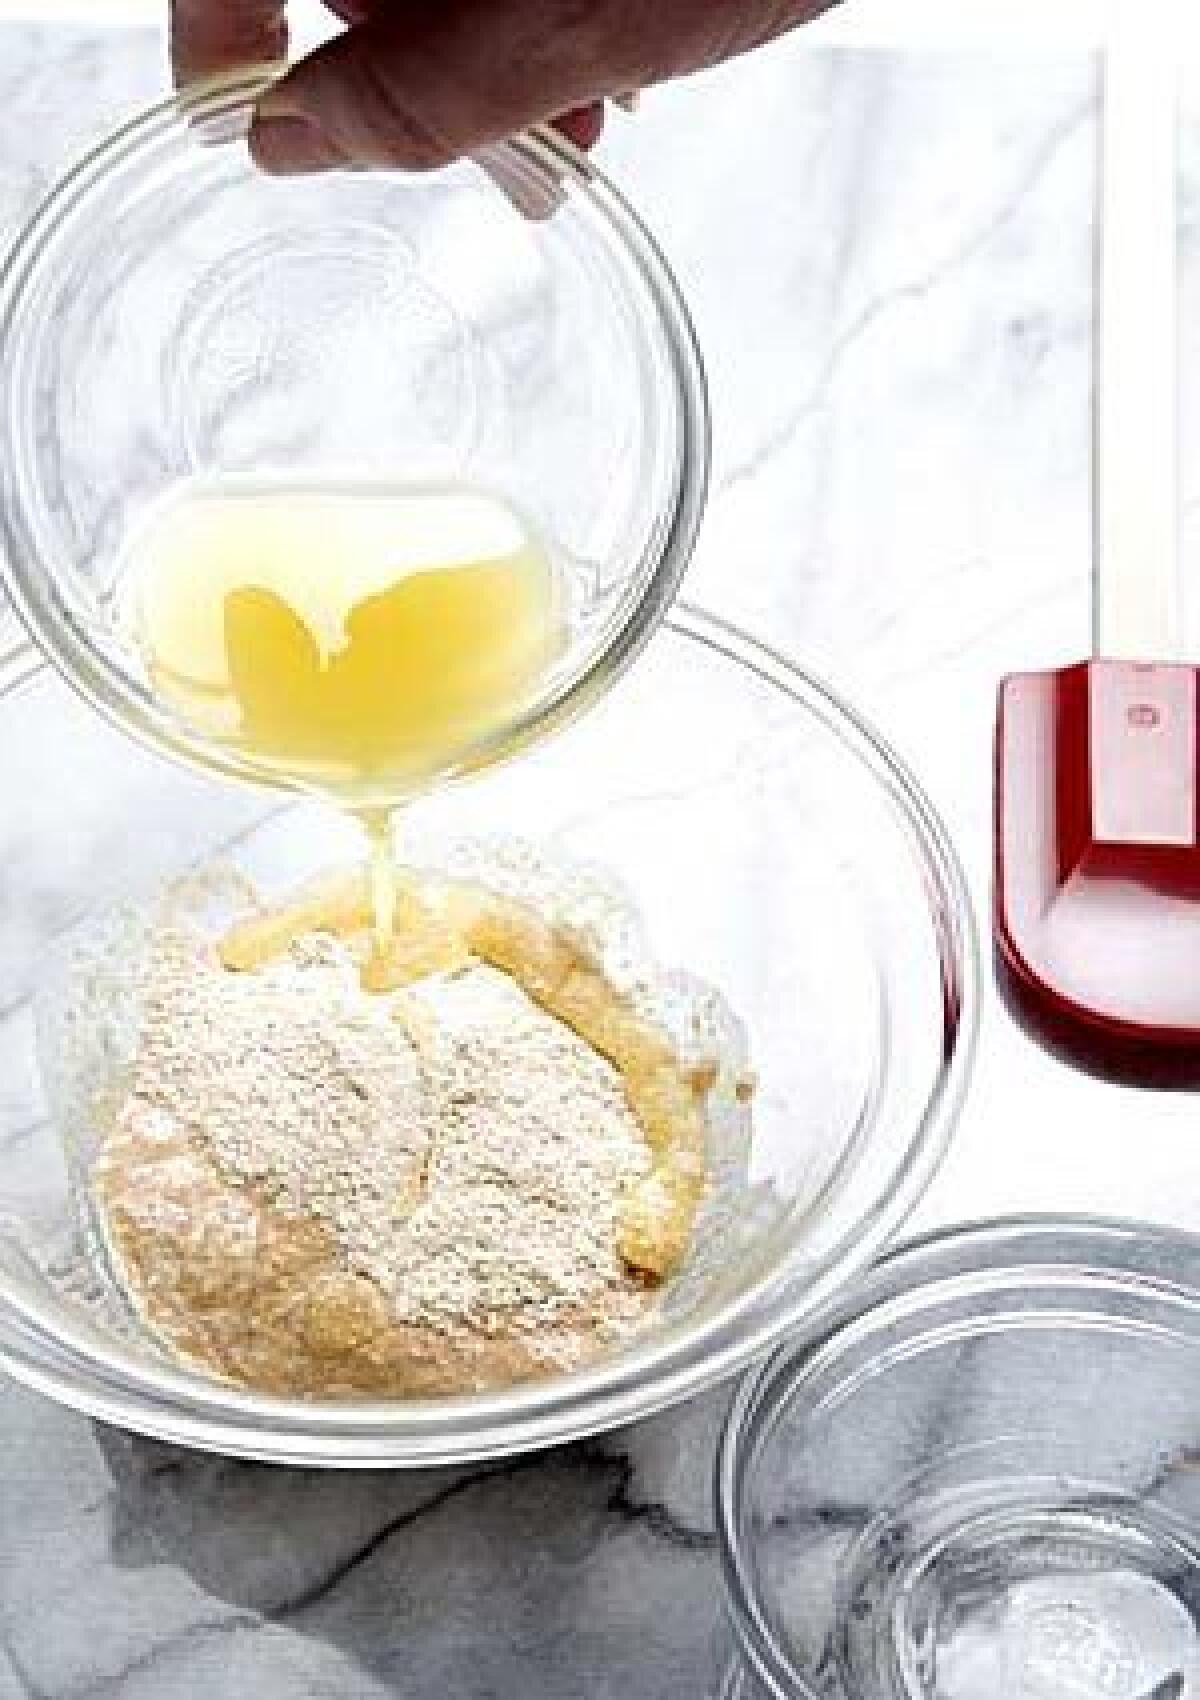
In a small nonreactive bowl, stir together the flour and juice with a spoon or whisk to make a paste (the liquid can be cold or at room temperature -- it doesn’t matter). It should be like pancake batter. Be sure to stir until all of the flour is hydrated. Cover loosely with plastic wrap and leave at room temperature for about 48 hours. Two or three times a day, aerate by stirring for 1 minute with a wet spoon or whisk (the dough won’t stick as easily to a wet tool). There will be little or no sign of fermentation activity during the first 24 hours; bubbles may begin to appear within 48 hours.
Phase 2 (Day 3) sponge
2 scant tablespoons (0.5 ounce) whole wheat flour
2 tablespoons (1 ounce) unsweetened pineapple juice or filtered or spring water, at room temperature
Phase 1 sponge (use all; you should have about 3 ounces)
Add the flour and pineapple juice to the Phase 1 sponge and mix with a spoon or whisk to distribute and fully hydrate the new flour. Cover loosely with plastic wrap and leave at room temperature for 24 to 48 hours. Stir with a wet spoon or whisk to aerate at least two or three times each day, as before. There should be signs of fermentation (bubbling and growth) during this period. When the dough becomes very bubbly or foamy, or at the end of 48 hours, whichever comes first, move on to Phase 3.
Phase 3 (Day 4 or 5)
5 1/4 tablespoons (1.5 ounces) whole wheat flour
3 tablespoons (1.5 ounces) filtered or spring water, at room temperature
Phase 2 sponge (use all, you should have about 4.5 ounces)
Add the flour and water to the Phase 2 sponge and stir with a spoon or whisk as before. The sponge will be thicker as you reduce the percentage of water, but it will still be very wet, spongy and sticky. Cover loosely with plastic wrap and leave at room temperature for 24 to 48 hours, stirring with a wet spoon or whisk to aerate at least two to three times each day, as on the previous days. Within 48 hours it should be very bubbly and expanded. If not, wait another day or two, aerating as before, until it becomes active. (If the sponge was active and bubbly before this phase, it could become active and bubbly in less than 24 hours. If so, proceed to the next phase.)
Phase 4 (Day 5 or later)
7 tablespoons (2 ounces) whole wheat flour
3 tablespoons (1.5 ounces) filtered or spring water, at room temperature
1/2 of Phase 3 sponge (about 3.75 ounces)
Discard or give away half of the Phase 3 sponge. In a nonreactive bowl large enough for the mixture to double in size, add the flour and water to the other half and mix as before. Cover the bowl loosely and leave at room temperature until the sponge becomes bubbly and foamy. It should swell and nearly double in size, but it will fall when jostled because of its hydration. This can take anywhere from 4 to 24 hours. If there is little sign of fermentation after 24 hours, continue to aerate as before and leave at room temperature until it becomes very active. This is your seed culture; you can now proceed to the next step, making the mother starter, or you can cover and refrigerate the seed culture for up to 2 days before making the mother starter.
Mother starter
2 1/3 cups (10.5 ounces) whole wheat flour
1 cup (8 ounces) filtered or spring water, at room temperature
2/3 cup (3.5 ounces) seed culture (about half of what you have)
1. Combine the flour, water and seed culture in a bowl and mix with a spoon or your hands until the ingredients form a ball of slightly sticky dough, about 1 minute. Let the dough rest for 5 minutes, then knead it by hand for 1 minute (in the bowl), until the dough is fairly smooth.
2. Transfer the starter to a clean nonreactive bowl or container large enough to hold it once it has doubled in size. Cover loosely with plastic wrap and leave at room temperature for 4 to 8 hours, until doubled in size.
3. De-gas the mother starter by kneading it for a few seconds, then re-form into a ball, cover tightly with plastic wrap and refrigerate. After a few hours, vent any carbon dioxide buildup by uncovering it briefly, then reseal it. At this point you have a firm starter, at 75% hydration; this recipe next builds and maintains it at 100% hydration. Many sourdough recipes call for a starter that has this percentage, but many don’t; check your recipe.
4. For the next 2 to 3 days, you need to “feed” (add equal parts by weight of flour and water) your starter. This builds its strength and develops its flavor. To feed your starter, weigh out 7 ounces of starter in a clean bowl, add 7 ounces of cool water and 7 ounces of whole wheat flour. Discard the remaining starter, or give it away. Mix until just combined, cover loosely with plastic and allow to sit at room temperature for 12 hours. Repeat this process at 12-hour intervals over 2 to 3 days (or longer). This will give you 21 ounces of “ripe” starter after each 12-hour period. You will discard a lot of starter during this building process, which will seem like a lot of flour and water.
5. After 2 to 3 days of feeding, your starter is ready to use. Your starter is “ripe” about 12 hours after its last feeding. The starter will about double in size.
6. If you plan on using your starter regularly, maintain it at room temperature and feed it on a consistent schedule. (You can keep a much smaller amount, and feed it once a day instead of twice; just keep the percentages of flour and water the same and the feedings regular.) If you don’t use your starter regularly, refrigerate it; it will keep indefinitely. You’ll still want to feed it regularly, probably once a week. To feed it weekly, remove the starter from the refrigerator, discard all but a few ounces and add a few ounces each of water and flour. Stir and let sit at room temperature for a few hours, then return it to the refrigerator. When you want to activate your starter for use, pull it out and feed it regularly at room temperature for 2 to 3 days, using the same technique as you did when you were building it initially.
More to Read
Sign up for The Wild
We’ll help you find the best places to hike, bike and run, as well as the perfect silent spots for meditation and yoga.
You may occasionally receive promotional content from the Los Angeles Times.


