Chile con queso

You could say it started with the “Cheesepocalypse” — you know, all those stories about a Velveeta shortage that have had everyone in a tizzy. And with the Super Bowl on Sunday!
But there’s no need to worry. You can make it yourself — a homemade “food prepper” version of liquid gold. Just in case.
Before you laugh, hear me out. Processed cheese, like those individually wrapped singles, often gets a bad rap, but just try getting that perfect ooze and silky texture from any other cheese when you melt it. Real cheese tends to separate when heated, the proteins clumping together while fats and moisture ooze out in the most unattractive way.
Processed cheese can take the heat and keep it together, with a glossy sheen to boot.
Even the molecular gastronomers are fans. Nathan Myhrvold’s “Modernist Cuisine at Home” contains a number of processed cheese variations, and Heston Blumenthal has a rather intense recipe to go with his reinvented hamburger.
I wanted an easy method I could make at home, using ingredients I could find at the supermarket.
I tried Myhrvold’s and Blumenthal’s methods, along with a number of others, and then went off and experimented some more. It took a little while — actually, more than 20 trials and at least 10 pounds of cheese — before I found something I liked.
Let’s start with the cheese. Processed cheese has traditionally consisted of a blend of cheeses, typically Colby and cheddar. For a home version, a mild cheddar is perfect for flavor (it’s not overly intense).
In order to get the right “ooze” when the cheese is melted, you need to add a liquid. I tried recipes that called for beer, milk, water and even infused sherry. I went with a blend of water and dry white wine. The wine not only gives the cheese a nice tang, it also helps to hold the cheese together as it melts, as when making a classic fondue.
But wine alone is not enough. Myhrvold and Blumenthal both use sodium citrate (derived from citrus, it’s also used in a number of commercial processed cheeses) as an emulsifier. Sodium citrate isn’t that hard to find online, but you won’t find it at the local market.
To help hold the liquid and cheese together, I added dehydrated milk and tapioca starch. I tested a number of thickeners, including the gelatin preferred by America’s Test Kitchen, but I liked the texture of tapioca, and, unlike gelatin, tapioca keeps the cheese vegetarian.
Finally, I added a little butter for richness and moisture, and a touch of salt to bump up the flavors.
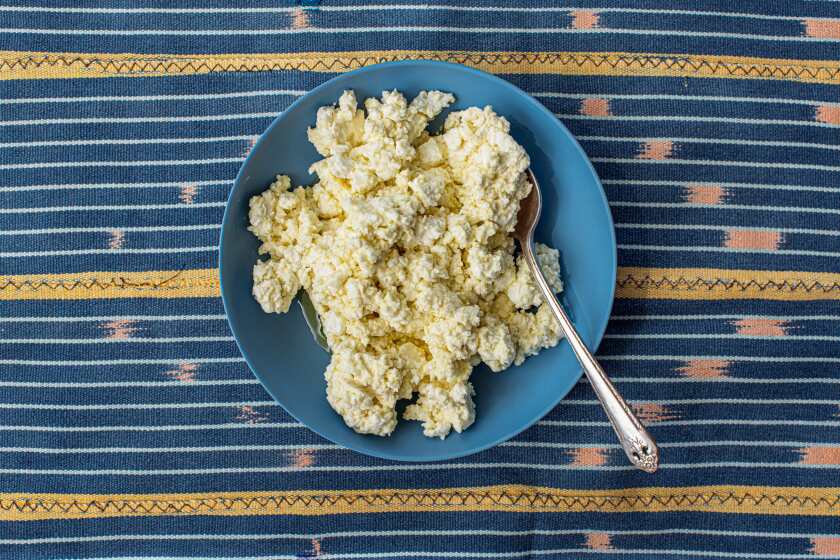
To make the cheese, finely grate the cheddar and pulse it in a food processor along with the milk powder, tapioca starch and salt, and bring the water, wine and butter to a boil in a small saucepan. With the motor running, slowly drizzle the liquids onto the cheese to melt and combine. Finally, spoon the cheese into a plastic wrap-lined ramekin (you could use a square mold for a more supermarket look, but I love the idea of a wheel of cheese), and then chill it in the refrigerator for a few hours to firm up.
The results? Amazing cheese that melts just right, using only a handful of ingredients.
After mild cheddar, I tried “processing” other cheeses with varying degrees of success. I found smoked fresh Gouda makes a great processed cheese, as does the sharp cheddar from Tillamook. But when I tried sharp cheddar from another producer, it simply didn’t work. Different cheeses vary in consistency, and the recipe will need to be tweaked.
Still, that processed Gouda made an excellent mac ‘n’ cheese. Most recipes call for melting the cheese in a roux-based sauce; while that helps keep the cheese from separating as it cooks, the flour also clouds the pure cheese flavor. Because I didn’t need to add the roux, the cheese flavor was richer, more pronounced.
Cheesepocalypse averted, I’ll be using the processed mild cheddar in my queso dip for the game on Sunday. I can’t say I’ll never buy processed cheese again, but there’s nothing like being able to make and flavor it myself.
Best of all? I know exactly what went into it.
Roast the jalapenos: Place the chiles on a rack set over a gas stove-top burner heated over high heat. Roast until the skin on all sides of each chile is charred, about 5 minutes, turning frequently. (If you have an electric or ceramic stove top, roast the chiles in the oven using the broiler setting until charred on all sides.) Wrap each pepper in plastic wrap and set aside until the peppers are cool enough to handle. Rub the plastic wrap against the skin to loosen and remove it. Do not rinse the peppers to remove the skin, as rinsing will remove flavor. Stem and seed each pepper, then dice the peppers into roughly one-fourth-inch pieces. Set aside.
In a large, heavy-bottomed saucepan, heat the oil over medium-high heat. Add the onion and cook, stirring frequently, until the onion is softened and lightly browned, 12 to 15 minutes. Stir in the garlic, then add the diced tomatoes and jalapenos. Cook until most of the liquid is evaporated, about 5 minutes, stirring frequently. Stir in the cumin.
Stir in the beer, scraping any flavorings from the base of the pan, then reduce the heat to medium-low and begin to stir in the cheese, a few cubes at a time. Continue to add more cubes as the cheese melts, stirring constantly.
Stir in one-half cup milk when most of the cheese has been added, then continue to stir until all of the cheese is melted to form the queso. Adjust the consistency of the queso with additional milk as desired. Taste and adjust the seasoning with three-fourths teaspoon salt, or as desired. This makes about 6 cups queso.
Get our Cooking newsletter.
Your roundup of inspiring recipes and kitchen tricks.
You may occasionally receive promotional content from the Los Angeles Times.


