So long, sandwich baggies. How to make your own reusable beeswax wraps

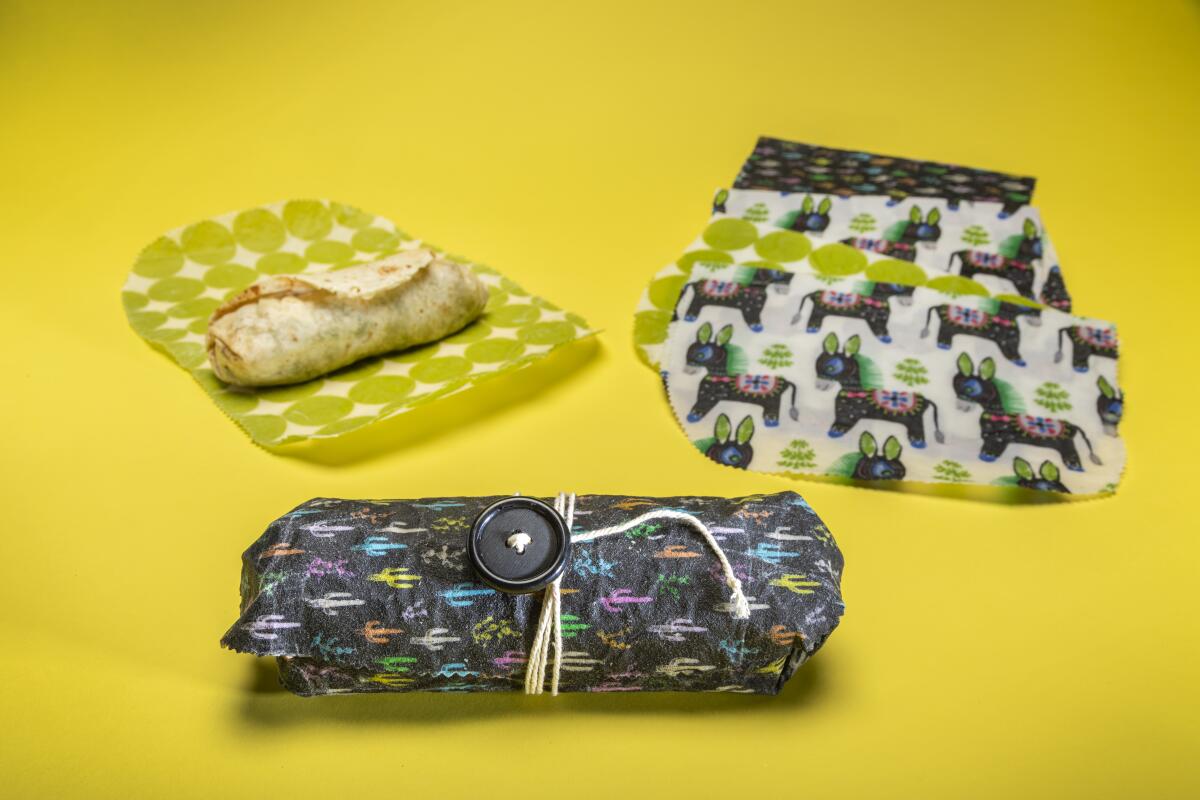
You can’t call yourself an environmentalist if you’re still bringing your lunch to work in single-use sandwich bags or wrapping bowls with plastic. But, good news: There’s a chic alternative: the beeswax wrap — a piece of cotton coated in beeswax that, when wrapped around your sandwich, sticks to itself and seals your lunch inside. A pack of three goes for $18, so I’m here to teach you how to make your own.
The process is simple, just a tad messy, and your house will smell amazing in the process. Plus, when you’re finished, you’ll have an impressive array of colors and patterns to show off in the office kitchen. Note: These aren’t air- or watertight, and they’re certainly not microwavable.
Supplies to make 10 wraps:
- 1 pound of beeswax pellets (from bulkapothecary.com or your local refill store)
- Baking sheet
- Tin foil
- Parchment paper
- 10 pieces of quilting cotton (from Michaels, Joann or your grandma’s fabric stash) cut to 12 inches by 12 inches. Notes: You can make your wraps any size; just make them smaller than your baking sheet. You can also reuse old cloth napkins or cut up an old sheet. Prewash your fabric. I use pinking shears to trim the edges so they don’t unravel.
- Kitchen gloves
- Medium-size paint brush
- Kitchen tongs
- Clothes drying rack or clothing hangers
- Newspaper
- Bonus: Kitchen twine, a large needle and 10 buttons
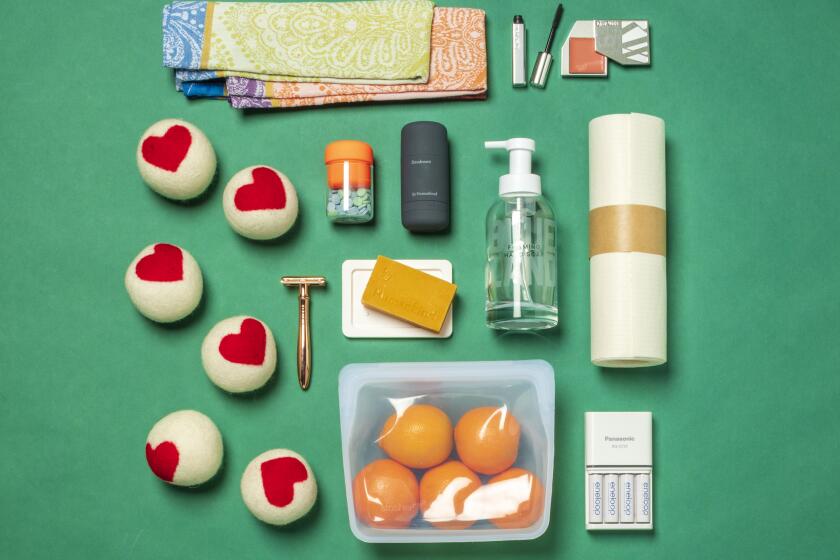
No matter how hard I tried, plastic kept sneaking its way back into my life.
The $18 three-pack beeswax wraps have more to them than beeswax and cloth, but I’m here to tell you, the jojoba oil and tree resin, thought to be binding agents, aren’t all that important for the longevity of your wax wraps. If you disagree, sprinkle those ingredients in when you add your beeswax in the steps below.
Steps:
1. Preheat the oven to 200 degrees. While it’s warming, lay out pieces of newspaper on the floor to catch any drips. Set up your drying rack.
2. Cover your baking sheet with tin foil to protect it from the puddles of wax. Lay down a piece of parchment paper on top of the foil so you can more easily move around your waxy fabric.
3. Lay your first piece of cloth onto your baking sheet and sprinkle about 3 tablespoons beeswax pellets onto the cloth. Go easy on the beeswax here. You can add more later.
4. Pop your baking sheet into the oven and set a timer for four minutes.
5. Pause to breathe in the calming scent of beeswax now filling your kitchen.
6. Choose an article to read from the paper you laid out in step one and enjoy the award-winning journalism of the L.A. Times while you wait. You are using the L.A. Times, right?
7. When four minutes is up, check on your concoction. If the wax is melted, use your paintbrush to smooth it over the fabric, coating every bit. Add more wax if needed.
8. While wearing gloves, remove your cloth from the baking sheet with tongs and hang it on your drying rack or fasten it to a hanger.
9. Let the pieces cool for about a minute and they’re ready to go. Congratulations, you sustainability nut! You did it. Note: Clean wraps with cold water and regular dish soap.
BONUS: Once you’ve finished your 10 beautiful beeswax wraps, you may want to add some kitchen twine and button as extra security for your lunch. Thread your needle with 20 inches of kitchen twine and sew on the button. Rather than trimming the excess twine, leave it hanging from the button. When you’ve got your lunch inside the wrap, wrap the twine around the whole package a few times and twist it around the button to keep things snug.
Recycling is good. Not using new material in the first place is better. Reduce single-use plastic and paper products with these sustainable alternatives.
To clean your beeswax wraps, run them under cold water, gently wipe them with a soapy sponge and let them hang dry in your dish rack.
Over time your wraps will lose wax. Revive them by repeating this process with less wax.
More to Read
Sign up for The Wild
We’ll help you find the best places to hike, bike and run, as well as the perfect silent spots for meditation and yoga.
You may occasionally receive promotional content from the Los Angeles Times.


