Forget the messy dyes: 7 unique ways to decorate your Easter eggs
Easter is almost hippity-hoppity here, but if you make like a bunny there’s still time to create some of the cutest eggs around, no dye necessary. For inspiration, we turned to some of our favorite DIY blogs. Use clean, dry, room-temperature eggs for best results.
1. Get a tattoo
Temporary tattoos work on eggs -- see above -- the same as they do on skin. Find temporary tats in the craft section or design your own by printing on temporary tattoo paper (who knew?). Pro tip: Use extra-large eggs to minimize “wrinkles.”
2. Go au naturel
Brown eggs are the craft paper of the dairy case — and they couldn’t be simpler or chicer. Draw on brown eggs with a nontoxic white paint pen. Done! You’ll find more inspiration at the crafts blog KaleyAnn.com.
3. Cut and paste
Decoupage is an artistic equalizer. Find images in old books, magazines, gift wrap, sheet music … or even a floral paper napkin. Carefully cut out the images, paint a thin layer of Mod Podge (the popular all-in-one glue, sealer and finish) onto the egg and gently apply the paper. Use brush handle to smooth small wrinkles and edges. Apply a finishing coat. For more tips and ideas, go to the blog PracticallyFunctional.com.
4. Write on
It doesn’t get much easier than this. Pull the cap off a fine-tipped Sharpie and doodle your heart out. Use black, or color a rainbow. Simple, geometric patterns look chic, but don’t be afraid to get your graffiti on. Holding the egg in a towel while you work will help reduce smudging. We found these at the arts and crafts blog AlisaBurke.blogspot.com.
5. Stamp on it

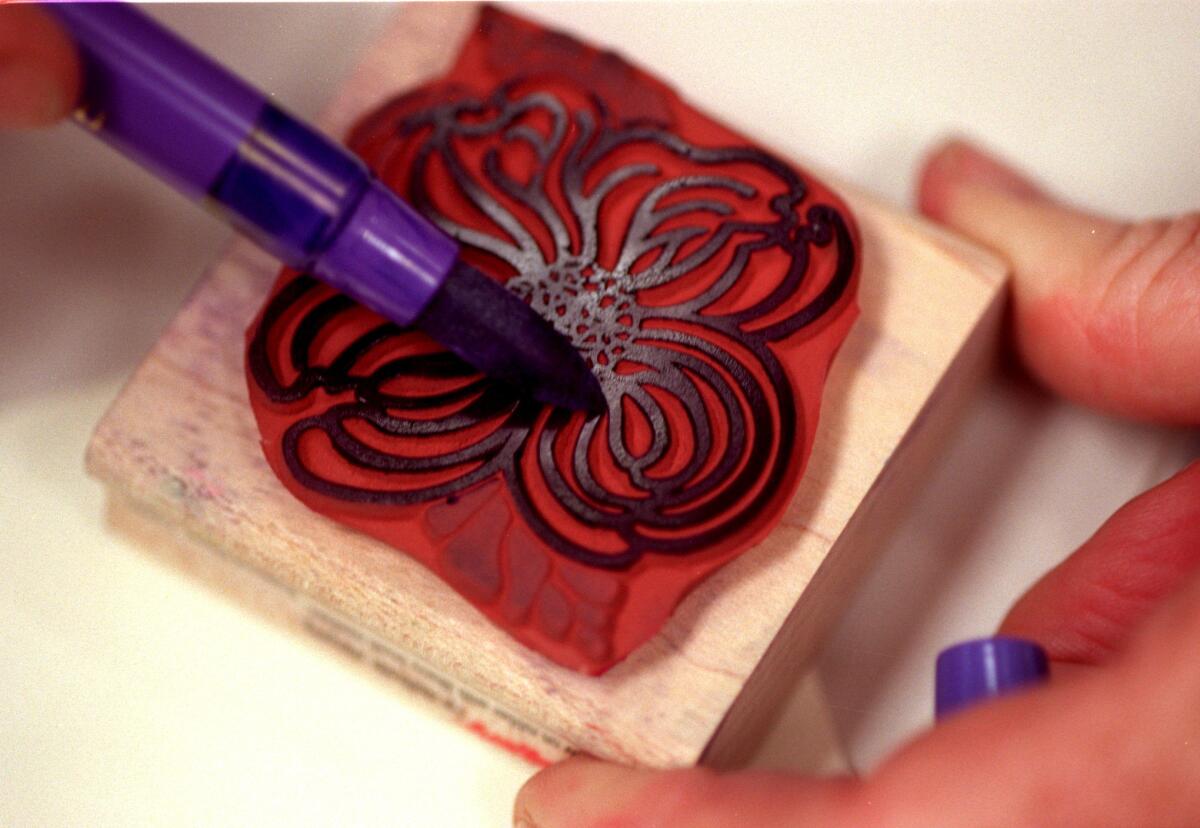
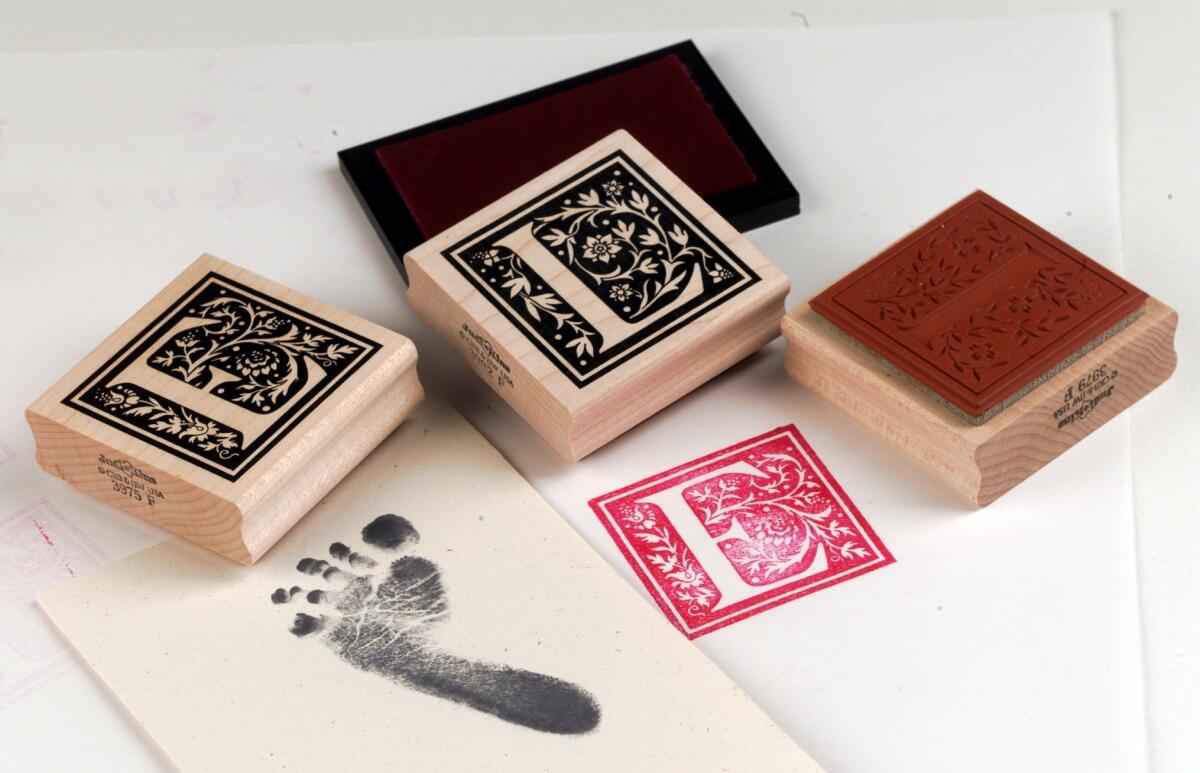
Spell out names or messages with rubber stamps. If the stamps are too big (or inflexible) to stamp directly onto the shell, stamp the image onto a piece of tissue paper and cut it out. Next, apply Mod Podge or white glue directly onto the egg with a brush, then affix the design. Pro tip: Smooth small wrinkles or edges by gently pressing and rolling with the paintbrush handle. For more on this technique, check out the decorating blog CraftberryBush.com.
6. Add sparkles
Glitter is good. Punch out geometric shapes (circles, hearts, stars) from double-sided adhesive paper. Stick adhesive shapes onto the shells and roll or tap in a small bowl of fine glitter. Gently sweep away excess with a paintbrush.
7. Prints charming

Baby Footprint.
Little fingerprints get everywhere — put them to use! Tap a thumb in paint, blot lightly on paper towel, then gently stamp the print on a shell. Allow to dry. Then using a fine-tipped Sharpie add to the fingerprint to create charming, “primitive” art. Add eight lines and it’s a spider. Draw petals around the outside and it’s a flower. Doodle wings and it’s a butterfly.
Twitter: @latimeshome
ALSO:
Get crafty! Poketo puts on a series of D.I.Y. workshops at the Line Hotel
First Look: Target and Marimekko to debut a limited-edition collection in April
7 ideas for using chalkboards, chalkboard paint at home
Oh Joy! D.I.Y. blogger Joy Cho shows you how to make mini heart pillows for your Valentine

