Test Kitchen tips: Makeshift piping bags
- Share via
If you have a recipe that calls for a drizzle of chocolate, or want to do some fancy work plating that final dinner sauce, don’t worry if you don’t have a piping bag or a squeeze bottle.
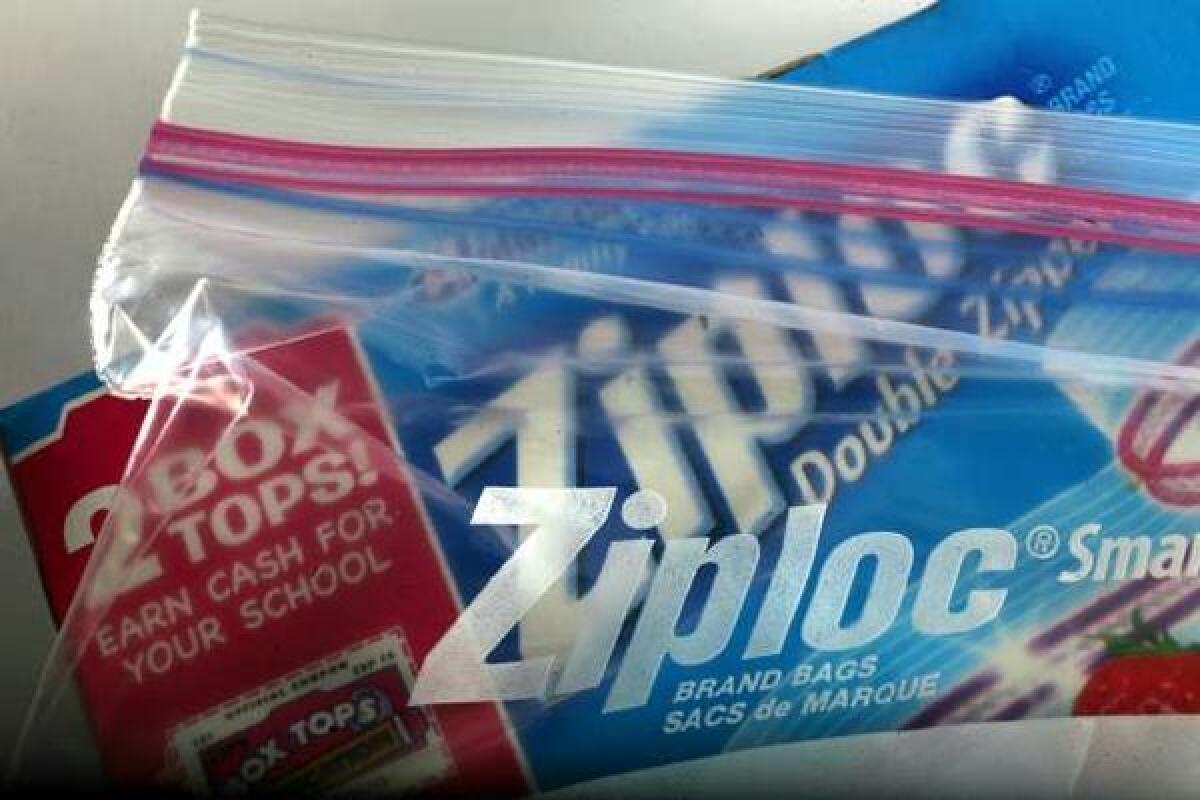
A food-grade plastic bag will work in a pinch. Fill the bag with the sauce, concentrating it in one corner. Don’t overfill the bag (smaller bags will give you more control as you’re piping), then cut the tip to the desired size and decorate.
A plastic bag won’t give you all the artistic freedom of a piping bag and a box of fancy tips, but it can do a really nice job so long as you’re going for something simple. After cutting the tip, practice a bit on a paper towel so you can get the feel for the flow before you work on the real deal. Be careful that the sauce isn’t too hot -- a hot sauce can hurt your hands, and could melt the bag.
If you have any kitchen tips or questions you’d like me to explore, leave a comment below or email me at [email protected].
ALSO:
Go behind the scenes at the Test Kitchen
Browse hundreds of recipes from the L.A. Times Test Kitchen
You can find Noelle Carter on Facebook, Google+, Twitter and Pinterest.
Chocolate eclairs
Total time: About 1 hour
Servings: 12 éclair or cream puff shells
Note: Inspired by a recipe by Rose Levy Beranbaum in “The Pie and Pastry Bible.” For savory pâte à choux, omit the vanilla bean.
6 tablespoons (¾ stick) butter, cut into ½-inch pieces and at room temperature
1 cup water
1/2 teaspoon salt
1/2 teaspoon sugar
Seeds from ½ vanilla bean
1 1/4 cups (5.3 ounces) flour
3 eggs
2 egg whites
1. Heat the oven to 400 degrees, and place a rack in the center of the oven. On a sheet of parchment paper, using a permanent marker, draw templates of the eclairs to help you pipe the batter. For the eclairs, draw 12 rectangles measuring 4½ by 1½ inches, spacing the rectangles about 2 inches apart (they will puff and spread as they bake). Flip the parchment so the marker is on the underside of the sheet (you should still be able to see the templates), and place the parchment on a baking sheet.
2. In a medium-size, wide heavy-bottom saucepan, combine the butter, water, salt, sugar and vanilla seeds, and bring to a rolling boil over high heat. Remove from heat and stir in the flour (stir quickly or the flour lumps will cook). Return the pan to low heat and cook, stirring frequently, for about 3 minutes to cook the flour slightly and rid the mixture of any starchy, floury taste.
3. Remove the pan from the heat and place the dough in the bowl of a food processor or stand mixer. If using a food processor, process the dough for 15 seconds to cool slightly and release steam (leave the tube open), then add all of the eggs and egg whites at once. Immediately continue to process for 30 seconds to combine and form the batter. If using a stand mixer, beat the dough with the paddle attachment until most of the steam has subsided, then add the eggs and egg whites, one at a time, until each is incorporated and a batter is formed.
4. Remove the batter to a bowl set over an ice bath and continue to stir gently just until the batter cools slightly and thickens (it should be thick enough to hold its shape when piped).
5. Dab a little of the batter underneath the 4 corners of the parchment paper so it sticks to the baking sheet. Place the rest of the batter in a large pastry bag fitted with a large round tip (the hole should measure just over one-half inch in diameter).
6. Pipe the batter evenly onto the paper to cover each of the templates; the piped batter will rise about one-half inch off the parchment paper.
7. Place the sheet in the oven and bake for 30 to 35 minutes, until the pastry is richly golden and evenly colored on the sides and top, and is firm when tapped. Turn off the oven and place the handle of a wooden spoon in the door to keep it barely open. Leave the pastries in the oven for an additional 30 minutes to give them time to dry out and set up.
8. Remove the pastries and place them on a rack, leaving a little space in between each. Prick the side or underside of each with the tip of a paring knife or skewer, and set aside until the pastries are cooled to room temperature, then fill with pastry cream and top with chocolate glaze.
Pastry cream
Total time: 20 minutes
Servings: Makes 2½ cups
Note: This makes enough pastry cream to fill roughly 6 eclairs in the attached recipe.
3 tablespoons butter, cut into ½-inch pieces
2 1/2 cups half-and-half
1/2 cup sugar
1/4 teaspoon salt
1 (4-inch) piece split vanilla bean
2 eggs
2 egg yolks
1/4 cup cornstarch
1. Place the butter in a strainer set over a medium bowl. Place the bowl over a larger bowl of ice water to form an ice bath.
2. In a medium, heavy-bottomed saucepan heated over medium-high heat, whisk together the half-and-half, sugar, salt and vanilla bean. Cook, stirring frequently, until the mixture comes to a boil, 5 to 7 minutes.
3. Meanwhile, in a large bowl, whisk together the eggs, egg yolks and cornstarch.
4. Whisk one-half cup of the boiling half-and-half into the egg mixture to temper the eggs, then slowly stir the egg mixture into the hot liquid. Increase the heat to high and cook, stirring frequently (and scraping all sides and the bottom of the pan), until the mixture thickens and comes to a boil.
5. Immediately remove the pan from heat and pour the mixture over the butter in the strainer. Strain the pastry cream, then gently stir until the butter is completely incorporated.
6. Place a sheet of plastic wrap over the surface of the cream to prevent a skin from forming, and set aside until cooled. Use immediately, or refrigerate until needed.
Chocolate glaze
Total time: 15 minutes
Servings: Makes about 2½ cups glaze
1 pound bittersweet or semisweet chocolate (chips or finely diced)
1/4 cup (½ stick) butter
1/2 cup heavy cream
1/2 cup water
3/4 teaspoon vanilla extract
2 tablespoons corn syrup
Pinch salt
1. Place the chocolate in a large bowl.
2. In a medium saucepan, combine the butter, cream, water, vanilla, corn syrup and salt. Bring to a good simmer over high heat. Remove from heat.
3. Pour the cream mixture over the chocolate and gently stir to combine, melting the chocolate and forming a glaze.
4. The glaze will thicken as it cools. The glaze will keep for up to 1 week, covered and refrigerated. Rewarm slightly to thin.
More to Read
Eat your way across L.A.
Get our weekly Tasting Notes newsletter for reviews, news and more.
You may occasionally receive promotional content from the Los Angeles Times.
